

The Back Hall/Laundry Room  |
|
The back hall/laundry room was a project that really
spawned off of another project. While I
was working on the exterior of the house, I discovered sections of siding that
were badly damaged and needed to be replaced.
Because the back hall was on the exterior of the house at one point in
time, the walls were cedar clapboard siding.
It had been on the interior of the house for so long, it was still in
really good shape. I proceeded to take
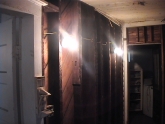
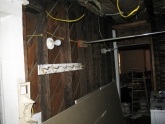
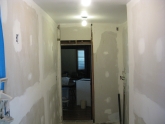
it all down and used what I could on the outside of the house. After doing this, the hallway looked pretty
bad. Underneath the siding were ĺĒ thick
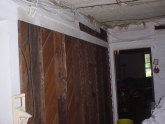
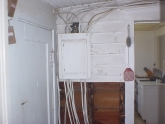
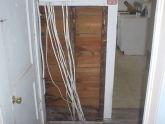
planks, and a lot of electrical wiring. You
can see some of the knob-and-tube wiring that was feeding the lights in the
back hall, as well as newer wiring that ran throughout the house. While I was working on the outside of the
house, I also had an electrician upgrade my service so that I could add central
air. The guy did a terrific job, replacing
and moving the breaker box, pulling all that wiring down to the basement, and
removing some wiring that was, at best, in violation of code. He also ran some new wiring for lights and
switches in the back hall, along with a couple of things for other rooms in the
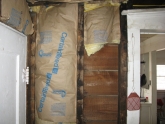
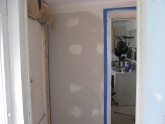
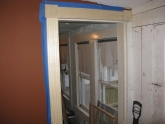
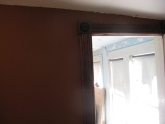
house. You can see in one section of the wall the remnants
of a window. When we moved in, there was
a window in the bathroom that looked through to the back hall. When my parents had the bathroom remodeled,
the contractor removed most of the window but left some pieces of the frame and
the sill in the wall. Again while
working on the outside, I found a window sill that was rotted. Iíll tell the whole story on the
siding/painting page, but for purposes of this page, I carefully cut out the
sill and reused it to replace the rotten one.
This allowed me to remove the rest of the window frame, fill in with
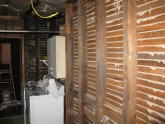
2x4ís, and drywall over it. As a minor aside, one section of the wall was
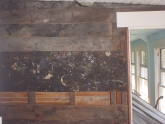
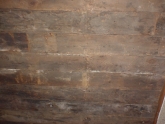
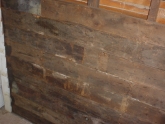
pretty interesting. Instead of just
being ďplainĒ wood, there were bits of paint, nail heads, and other unusual
signs that this wood wasnít originally used for a wall. My guess is that this wood was originally
part of a work bench, so after I took it down, I incorporated it into a work
bench of my own. Also interesting was
some old plumbing underneath that section of wall. It looked like there used to be a sink on one
side of the wall, but the plumbing is cut off or turned off somewhere. I decided against going into the crawlspace
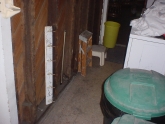
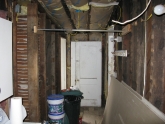
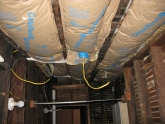
to figure out where it went. The ceiling was another story altogether. As you can see, it was a wainscoting-type ceiling
due to the fact that this area used to be part of a back porch. The bits of plastic are remnants of a
somewhat elaborate system created by my mother to catch water that was leaking
through from the flat roof above. After
the roof was fixed, the plastic wasnít required, so I took most of it
down. However, it was so old that a lot
of it just fell apart as I was removing it.
I left the remnants and thumbtacks that were holding it in place. I noticed that the wood for the ceiling
extended on into the next room, so I didnít pull it down at the same time as
the walls. After all this, I left the room as is for several
years. I either didnít have the time or
the money to finish the room, and after doing the drywall in the living room, I
really wasnít sure I wanted to tackle drywall again. Once Gloria and I got married, we decided to
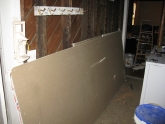
work on finishing this room. I had some
leftover drywall from the living room and this area was really drafty, so we
decided to finish the room. We pulled down the remaining pieces of trim, and
started taking down the ceiling, cutting off the wainscoting at the edge of the
walls. Once all that was down, I added
additional wiring and boxes on the ceiling.
The wall lights werenít bad, but we really felt like ceiling fixtures would
give us better lighting. We then added
R38 insulation to the exterior sections of the walls & ceiling, filled in
any holes to the outside, and caulked any gaps on the exterior walls and the
floor. I mentioned the crawlspace above;
the back hall and old back porch are above the crawlspace as opposed to the
basement, and itís pretty drafty. We
sealed up all those gaps and filled in holes in the subfloor to make the area
more weatherproof. After that came the drywall. Hanging drywall isnít that big of a deal;
finishing it still sucks. One of the
biggest challenges to installing drywall in an old house is that nothing is
square or plumb. You cut a piece of
drywall to fit, and it doesnít because the floorís not square. It took multiple attempts to get the drywall
to fit fairly well into the space, but we got it. I decided to finish the drywall myself, and
it went ok, but I still have trouble with corners. I think overall Iím happy with the way the
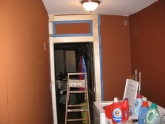
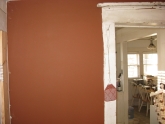
seams and screws came out, but really wish the corners looked better. Once the drywall was finished, we picked a color
and began painting. The colorís very
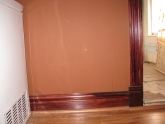
similar to the dining room, but a slightly different shade. We thought about putting the old woodwork
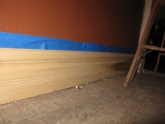
back up and using basic planks for baseboards, but I found some reproduction
Victorian woodwork that is similar to whatís in the rest of the house. Itís slightly smaller, but I thought itíd
look better than basic planks. I stained
it a fairly dark color so that it would flow well from the dining room, and
weíre happy with how that came out. Once all that was done, we moved on to the
floor. I pulled all the old
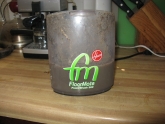
adhesive-backed tiles up off the floor, swept, and started cleaning with the
FloorMate before I did anything else.
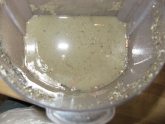
You can see pictures of one batch of the dirt and gunk that came up off
the plank flooring. I went over the
floor several times to try and get as much of the dirt up as possible before
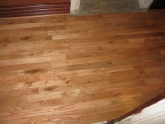
putting down the new hardwood. Gloria and I discussed flooring options before we
settled on the hardwood, but ultimately we decided that itíd look better to
have hardwood (or a facsimile) than tile.
While we were looking at flooring, the Samís Club we go to was
remodeling, and had this great 2 ĹĒ flooring in clearance for $27/box. We decided to pick up enough for the back
hall and the kitchen. Now, Iíve never installed hardwood flooring before,
but I figured, hey Ė how hard could it be?
There are directions, right? And
the answer is: itís really not that
tough. I did botch the beginning and had
to start over, but once I figured out the routine, I got into a rhythm and it
moved pretty quickly. We rented a
flooring nailer from Home Depot, and that worked well for the most part, but
when we got closer to the walls, there wasnít enough room to strike the
nailer. I filled those spots in with my
finishing nailer and then surface nailed the last piece or two. We bought finished quarter round for the
edges vs. unfinished, which was a lot more expensive, but it let us get done a
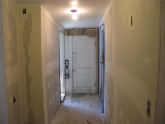
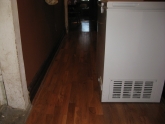
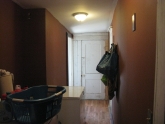
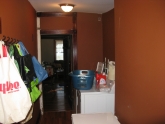
lot faster than staining and then installing. After all that, the room was pretty much done, so
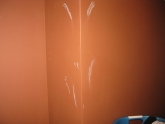
we moved things back in. You can see
white scratches on one of the corners.
While we werenít around when it happened, we theorize that one of the
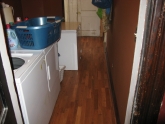
cats was chasing a bug and leapt after it, trying to climb the wall. We installed a chest freezer, hooked
everything back up, and we were good to go. The last component of this project was getting
something back into this room for storage.
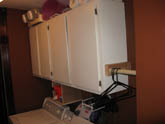
For that, we used two utility cabinets that were formerly used in the
kitchen. Theyíre a little rough and not
that pretty, but they work for storage.
I installed a rod at the end of the cabinets for hanging laundry, and a
small plastic widget for extra hangers.
As we were moving things back into the laundry room, we realized that we
didnít have as much extra room as we thought we would; the cabinets filled up
in a hurry! Overall, Iím very happy with the way the project
turned out. The next time I attempt
drywall, Iím going to feather the corners out a lot more. I may also paint a test spot, since the paint
really brought out the shortcomings in my finishing work. I still donít like finishing drywall, but it
came out ok. Installing the hardwood
floor was a blast! I really enjoyed that
part of it. Finally, the compressor and
nail guns were great to have! Installing
the baseboards, trim, and quarter round was much, much easier with the nail
gun. Plus itís fun to use.  Copyright © 2009 David H. Young, Jr. All rights reserved. |
Click on any of the pictures for a larger view.
